
Coffee Grinder Smart Scale
I fell down the espresso rabbit hole a while ago. It started with a basic espresso machine with pre-ground coffee, then a better grinder, then a better coffee machine, then an even better grinder. I'm now quite happy with my current setup: Rancilio Silvia + Eureka mignon grinder.
One of the first mod I did is a PID controller for the espresso machine. It's based on an ESP32 with CleverCoffee software.
Then, a few weeks ago, I read this post from Hackaday about Tech Dregs hacking his Eureka Mignon grinder to auto-stop after a specific weight of coffee has been grinded. One super interesting detail was how easily he integrated the microcontroler with the grinder. This gave me the motivation to build a similar thing for my grinder: a smart scale that will start and stop the motor to grind the exact dose of coffee every time.
Here's the result: a fully automatic auto-start and stop for the Eureka Mignon which always grind the exact amount of coffee you set.
These grinders from Eureka have a lot of variations with some smart features like touch-screens to setup timed doses. I imagine that it was more cost-effective to build only one controller board to handle turning on and off the motor and use it in all their models. This means that even their basic grinders (like mine) have a 5V power supply integrated and easily-accessible pins to control a relay which in turn control the motor.

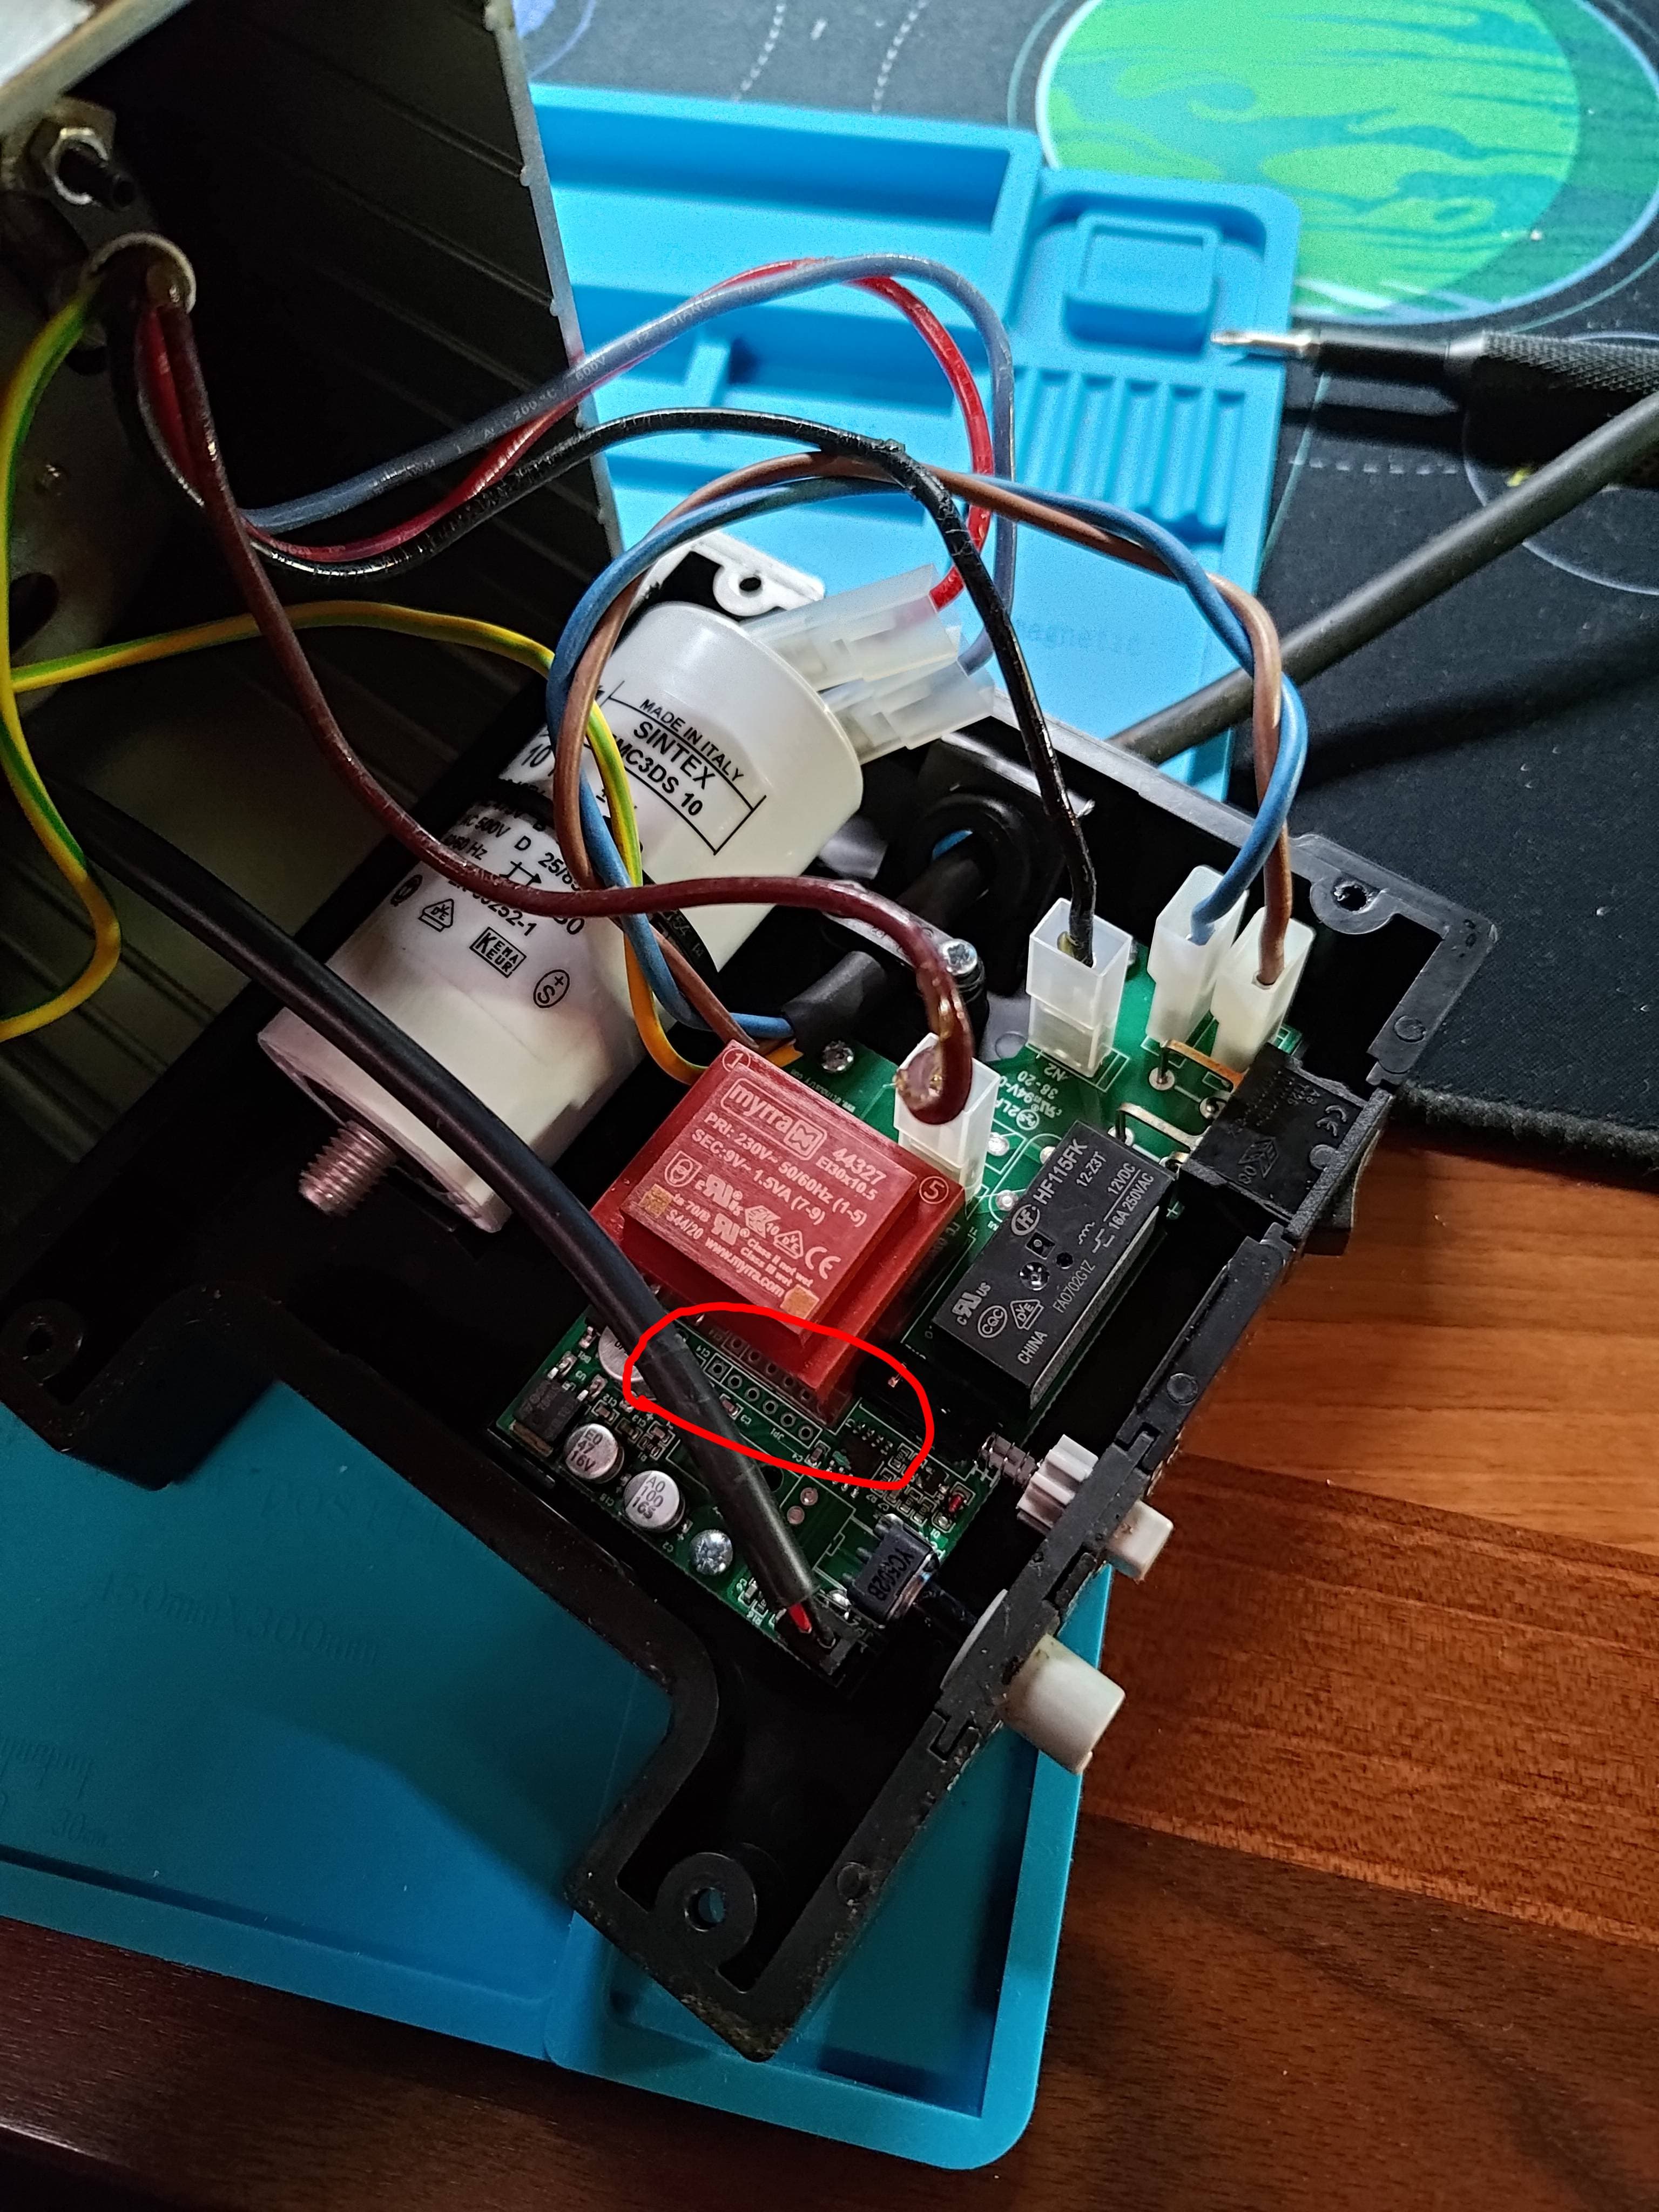
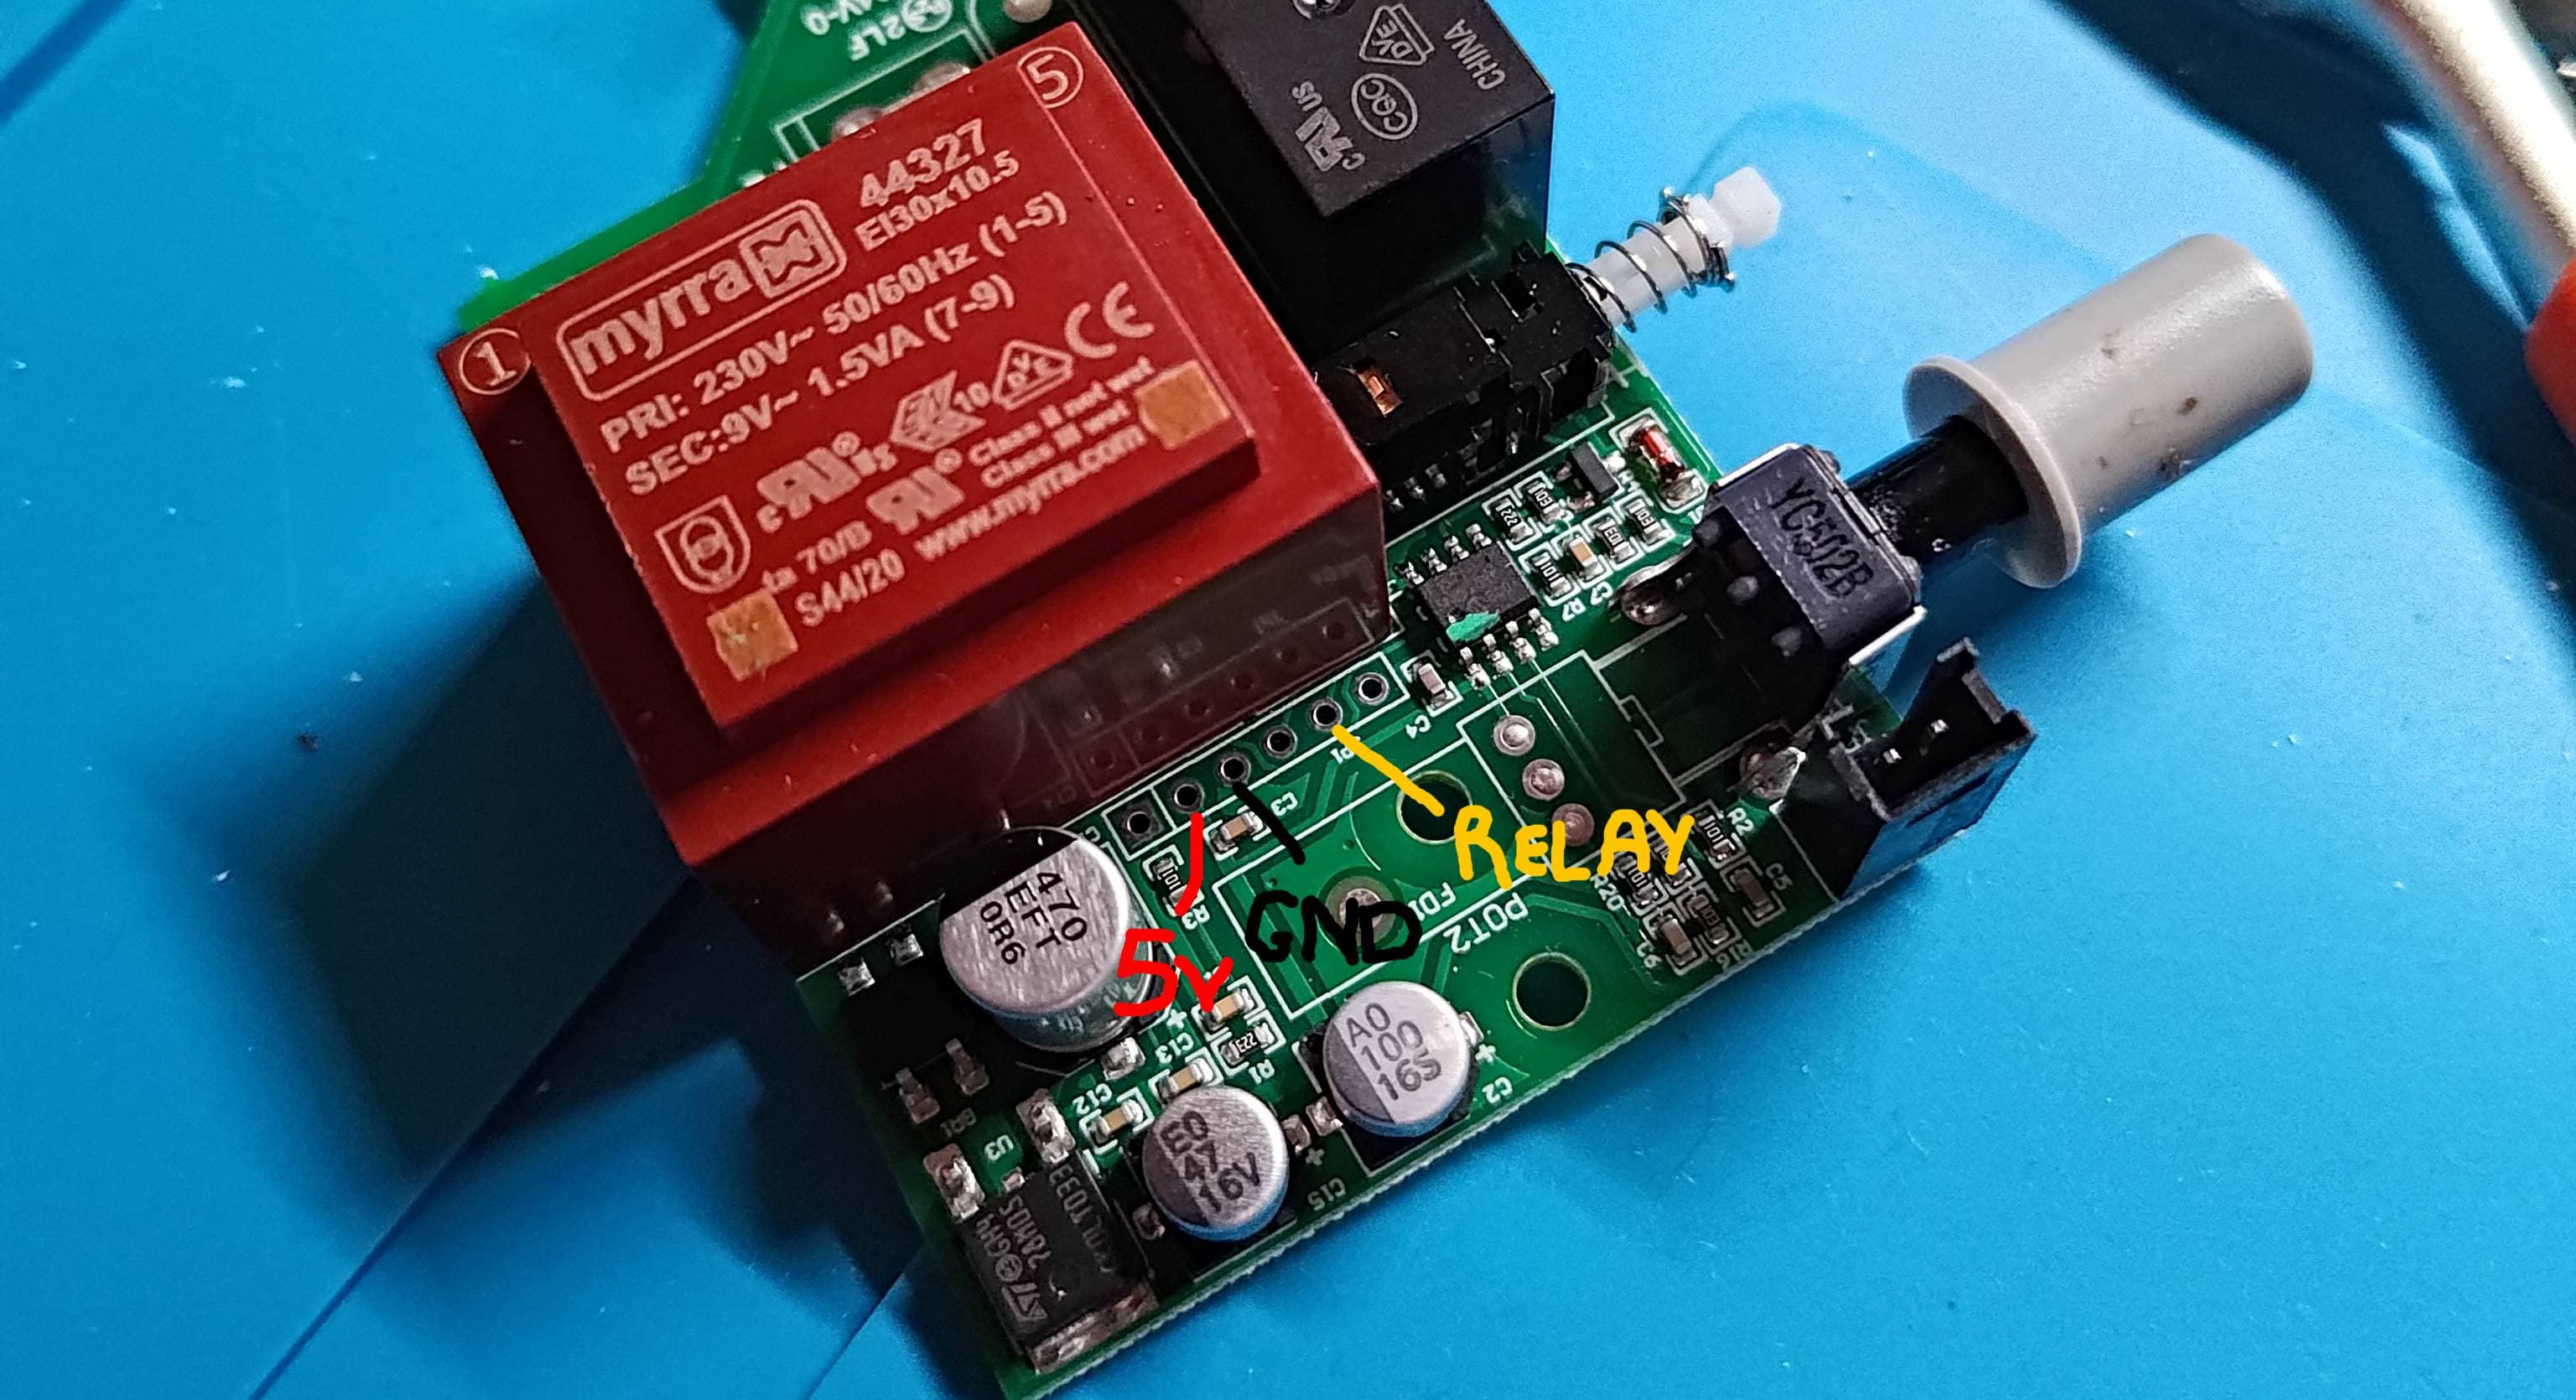
From left to right, I'm using the pin 2, 3 and 5 which are respectively: 5V, ground and relay control. I connected a ribbon cable to these 3 pins and used the existing power-cable hole to cleanly get these accessible from outside the grinder. This modification was quick to do and is easy to remove if needed.

Then I ordered a 5kg loadcell with a HX711 controller board, a SSD1306 display, some transistors and an ESP32 and started prototyping on a breadboard. The software flow is:
- Tare the balance to 0 when starting
- Wait until detecting a load similar to the configured dosing cup weight
- Tare the balance again with the exact weight measured of the dosing cup
- Turn on the pin that controls the grinder
- Monitor the weight, if it dosen't change for 2s or if it goes down (dosing cup removed from support), stop grinding and enter an error state
- Wait until the weight goes to the configured grinding dose and stop the grinder
- If in an error state, wait for the loadcell to measure above 1kg to reset the state (loadcell acts as a button the user need to press to continue)
The electronic is quite simple. There's no custom PCB. The display and the loadcell board connect directly to the ESP32. The only tricky part (for me) was the transistor. Because the ESP32 is using 3.3v, when setting a pin to high, the signal will also be 3.3v. The relay inside the grinder is using 5v and doesn't turn on with only 3.3v (only a small click can be heard but the motor doesn't start). I used a 2N3904 transistor and connected it between an ESP32 pin, 5v from the grinder and the relay control cable.
Once I got a prototype working, I designed an enclosure with Fusion360.

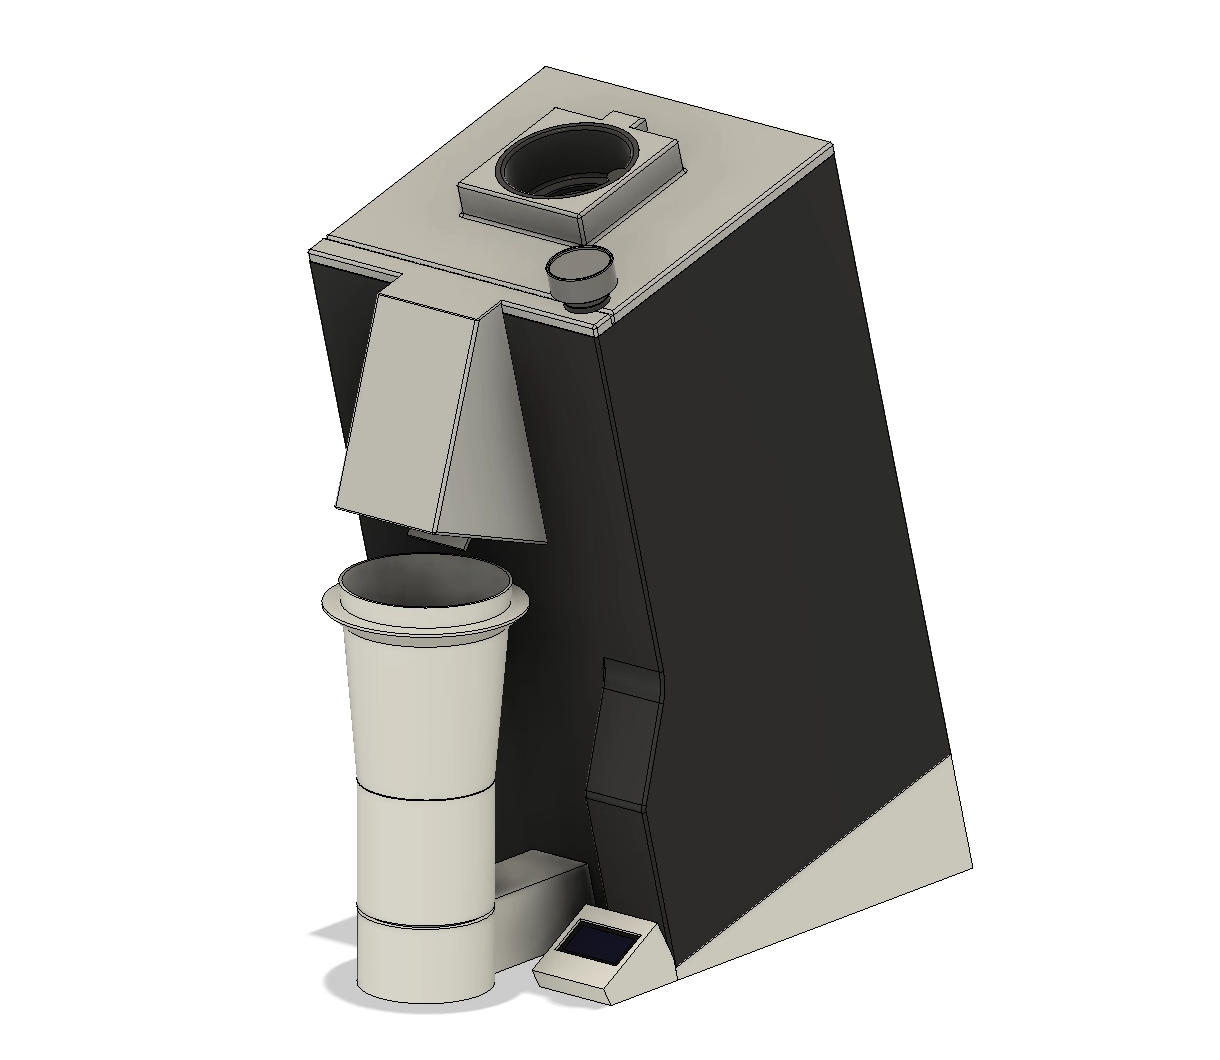
The base is inclined to 15° to lower the coffee retention inside the grinder. There's a 8x4mm circular magnet in the dosing cup and in the support to snap it into place. The ESP32 and HX711 board are stored in the base, below the grinder. Here's the STEP file and the Fusion360 archive if you want to take a look.
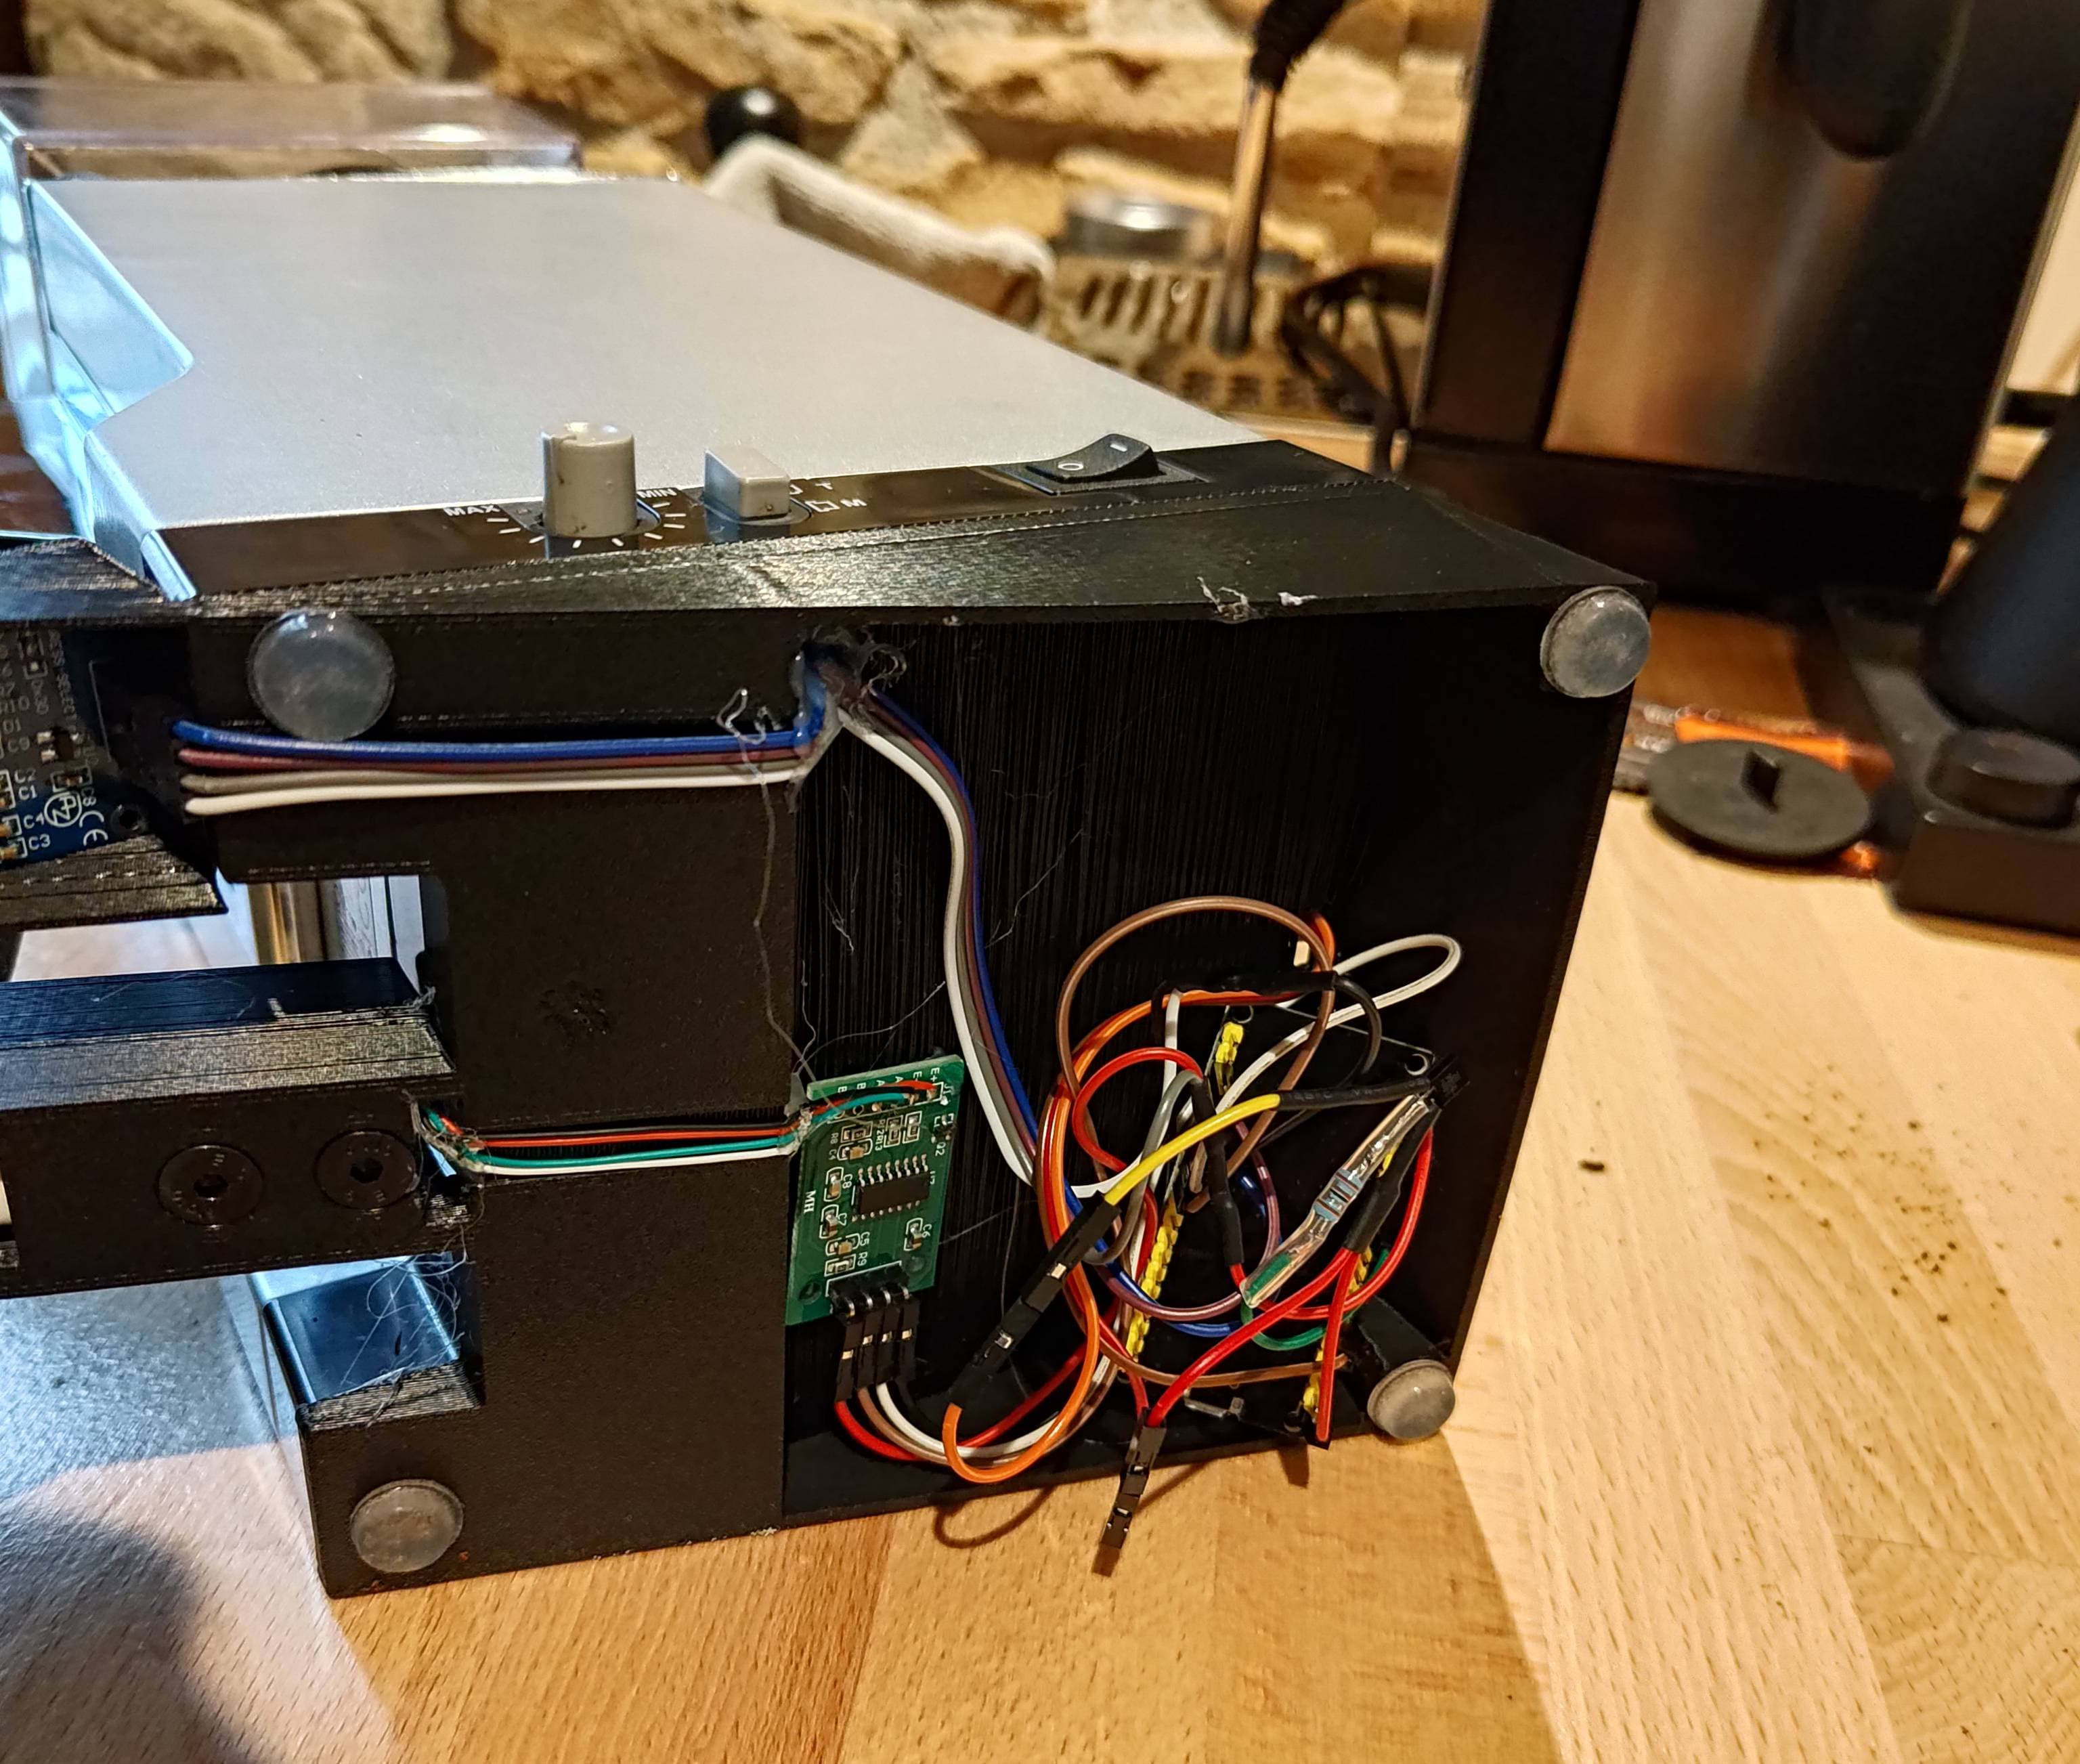
I printed the 4 parts in black PLA with my Prusa MK3S. The base is quite big and will not fit on small 3D printers but it's possible to split it into multiple pieces and re-assemble them after printing.
All the electronic is stuck inside the base. It's not clean at all but get's the job done and no cables are exposed.

It now works very well and is used every day. The total cost was:
- 10€ for the loadcell + HX711
- 6€ for the SSD1306 display
- 9€ for the ESP32
- less than 1€ for the transistor
- a few euros for the 3D printed plastic
You could build it for less if you source the components from cheaper shops.
The code is available on Github.